
Last updated September 20, 2026
Full 25-point door and opener safety check with every visit - springs, cables, rollers, tracks, and your LiftMaster or Chamberlain opener included
You get a price before we start. It does not change when the truck arrives.
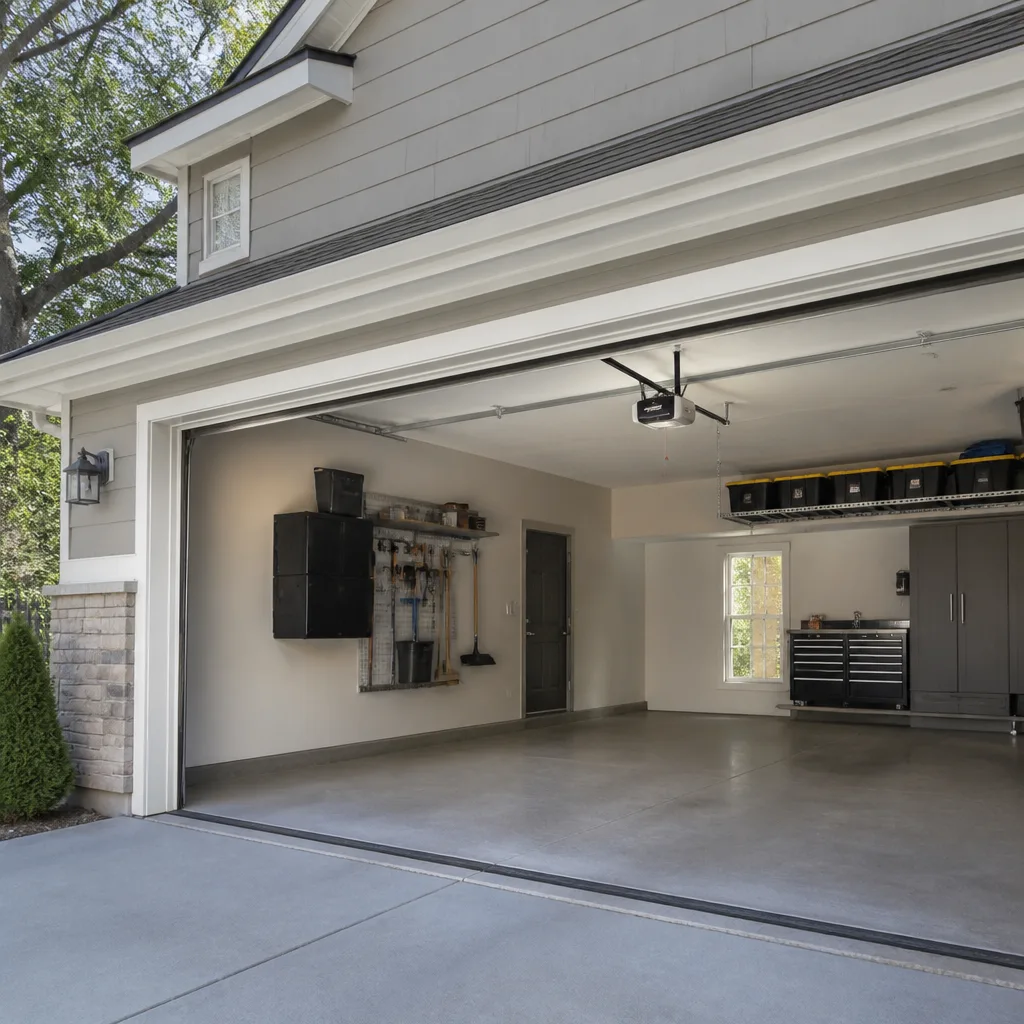
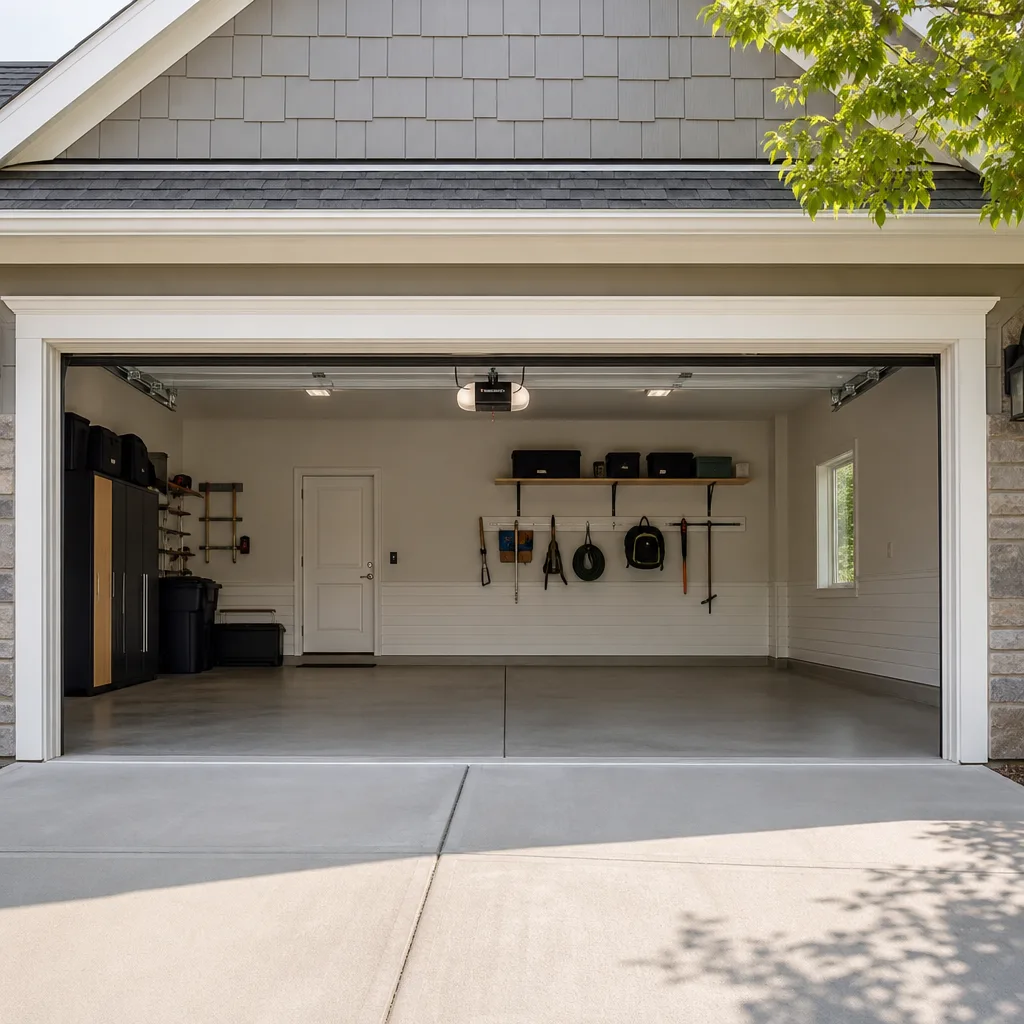
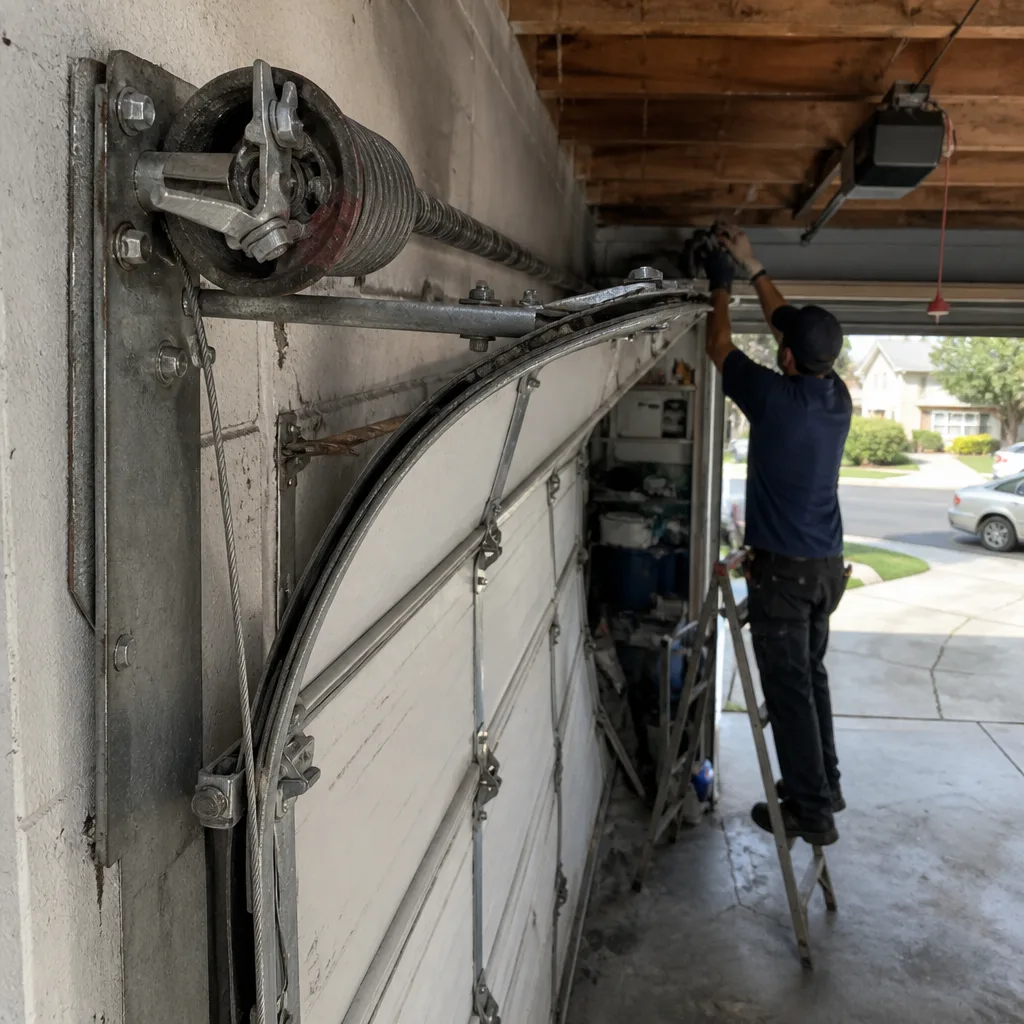 Before
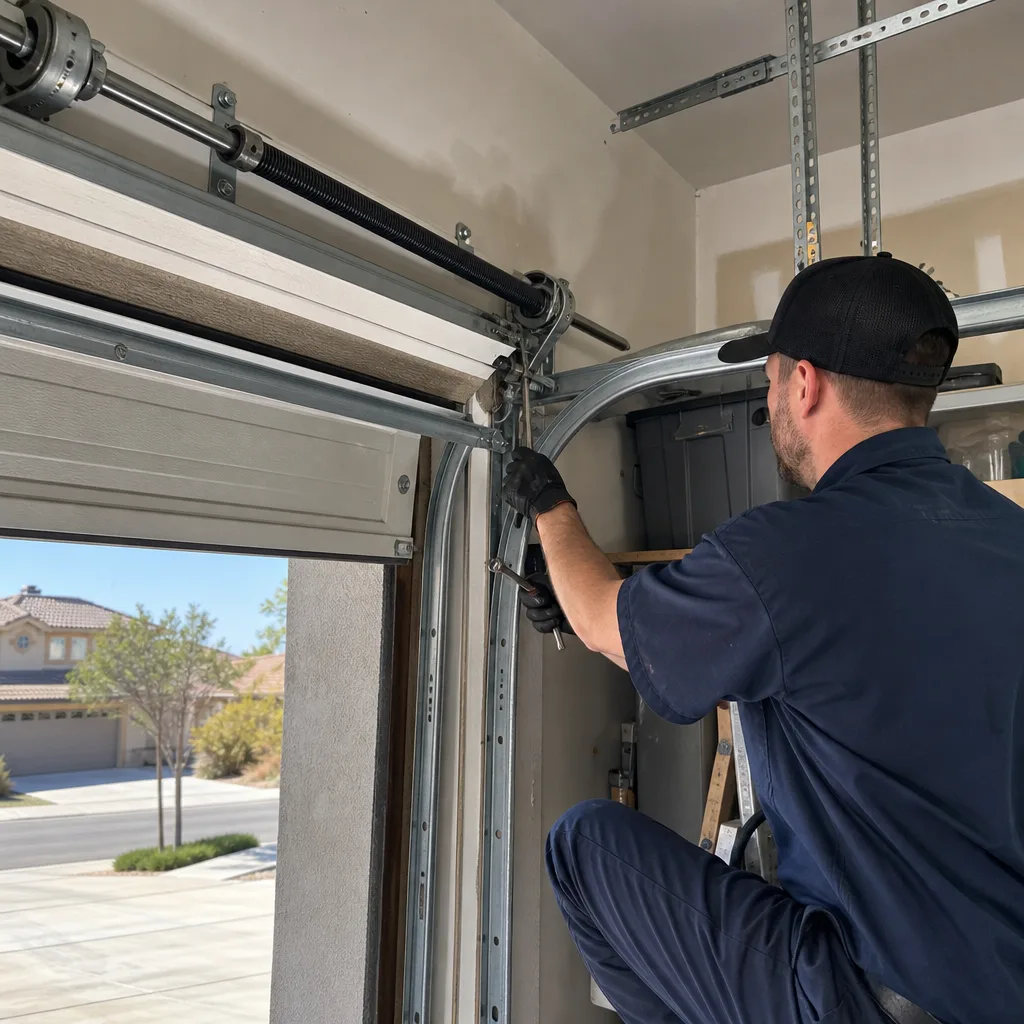 After
After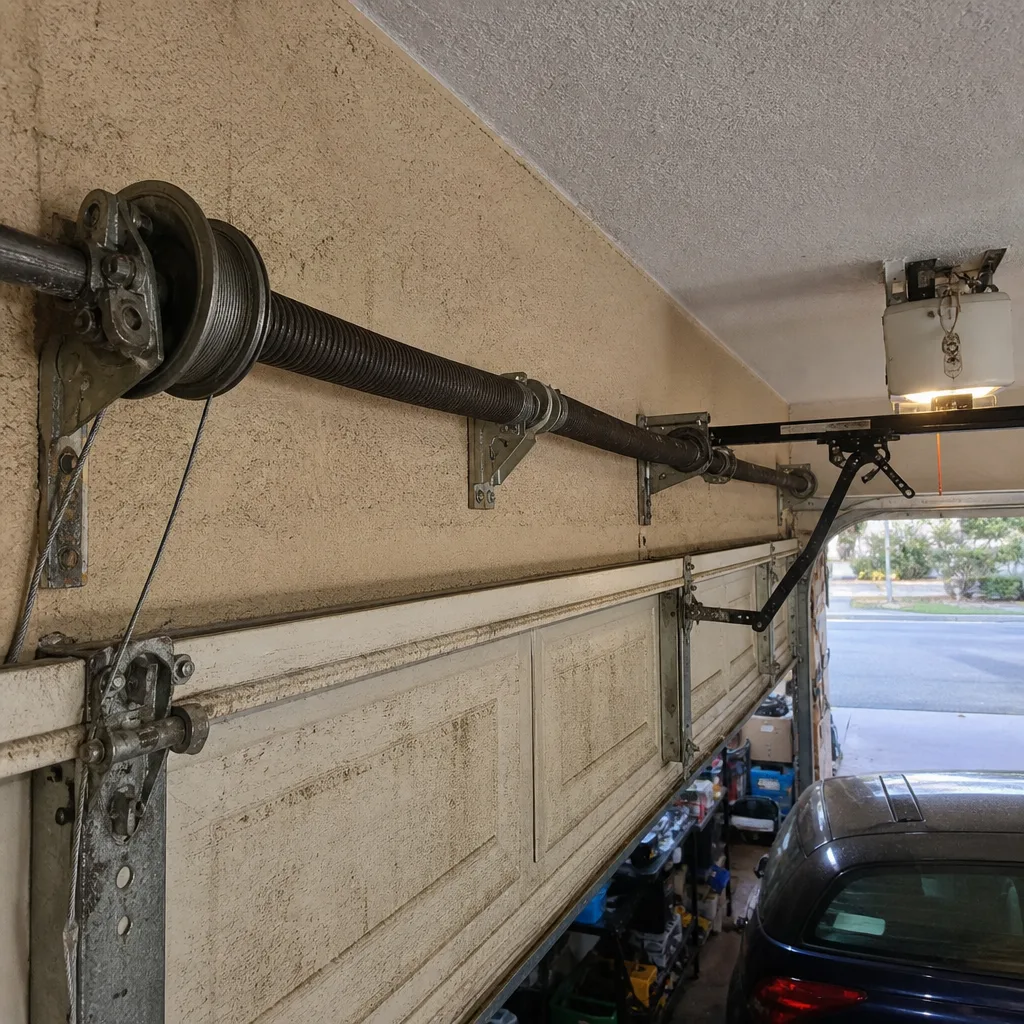 Before
 After
After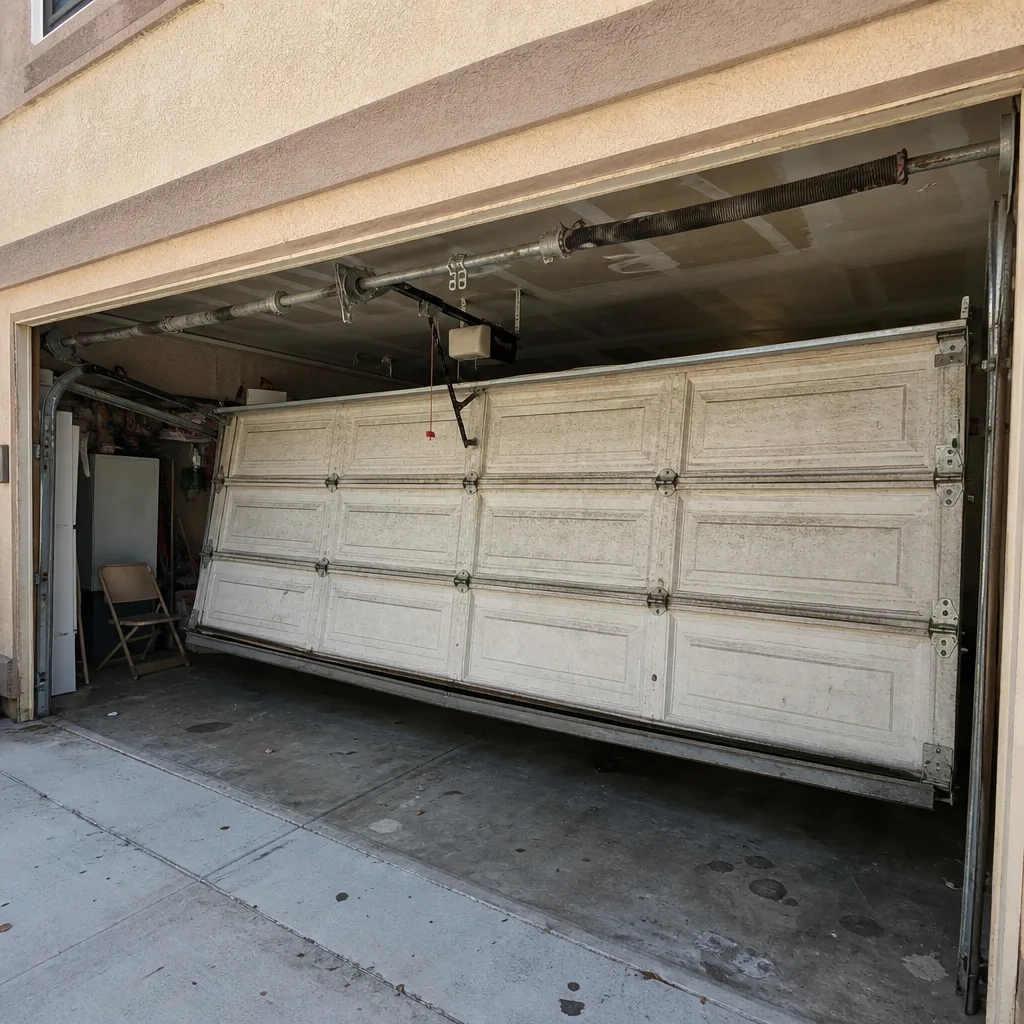 Before
 After
AfterDIY vs Professional Garage Door: The Corona Homeowner’s Decision Guide
A torsion spring stores roughly 100 foot-pounds of torque when fully wound. That is the energy equivalent of a car door slamming shut on your hand, released in under a second. Not a pinched finger. A broken bone. That single fact explains why the DIY-versus-professional line for garage doors is drawn where it is, and it has almost nothing to do with how handy you are. This guide covers what you can safely do yourself in Corona, what you should not touch, how to document a DIY repair properly, and the exact symptoms that mean the project has moved past the DIY boundary. For Corona homeowners seeking a complete maintenance checklist, we have additional resources available.
Quick Answer
DIY is appropriate for garage door tasks that involve no stored energy: weatherstripping, remote reprogramming, limit-switch adjustments, and cosmetic panel touch-ups. Anything involving torsion springs, extension springs, or cables under tension is categorically unsafe for a homeowner to attempt, regardless of skill level, and should be handled by a licensed professional. The line is drawn by physics, not confidence.
Table of Contents
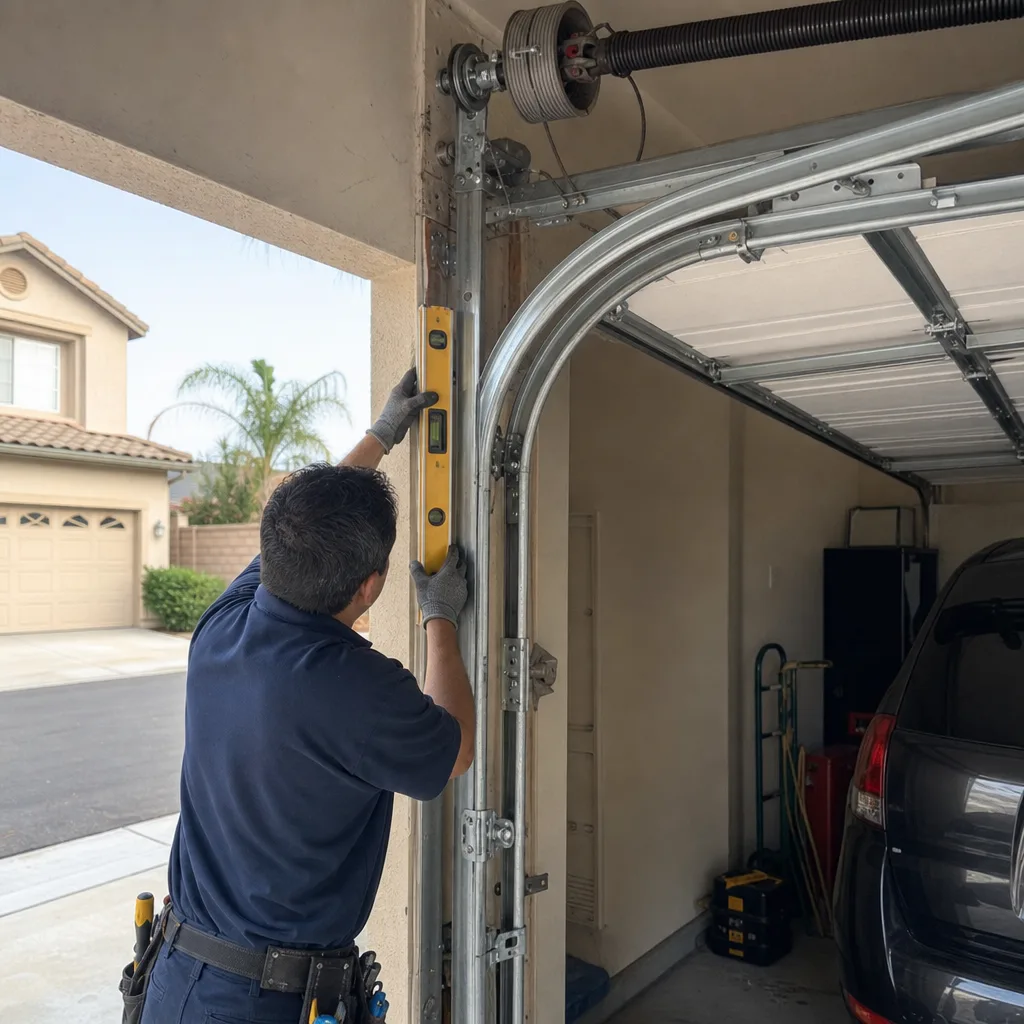
- The Stored-Energy Boundary: Where the Line Actually Sits
- Safe DIY Tasks: What You Can Do in a Corona Afternoon
- Parts and Tool Sourcing: What You Can Actually Buy
- How to Document a DIY Repair the Way a Technician Would
- The Handoff Protocol: When to Stop and Call
- Cost Comparison: What Corona Homeowners Actually Pay
- Common Mistakes to Avoid
- When to Call a Professional
- Frequently Asked Questions
BeforeAfterThe Stored-Energy Boundary: Where the Line Actually Sits
The DIY question for garage doors is not a scale from easy to hard. It is a binary distinction: does this component store mechanical energy when the door is closed and sitting still? If the answer is yes, it is outside your scope. If the answer is no, it is fair game. That single criterion is more reliable than any skill-level framework or YouTube confidence check.
In Corona, where summer temperatures routinely push past 95 degrees, this distinction matters more than in cooler climates. Metal fatigue accelerates in sustained heat. We have seen torsion springs in neighborhoods like Sierra Del Oro and Eagle Glen break in July and August with predictable frequency, and we have also seen the aftermath of a homeowner attempting that repair with improvised tools. The spring does not care how careful you are. It stores the same torque whether your winding bars cost $15 or $150.
Components That Are Categorically Off-Limits
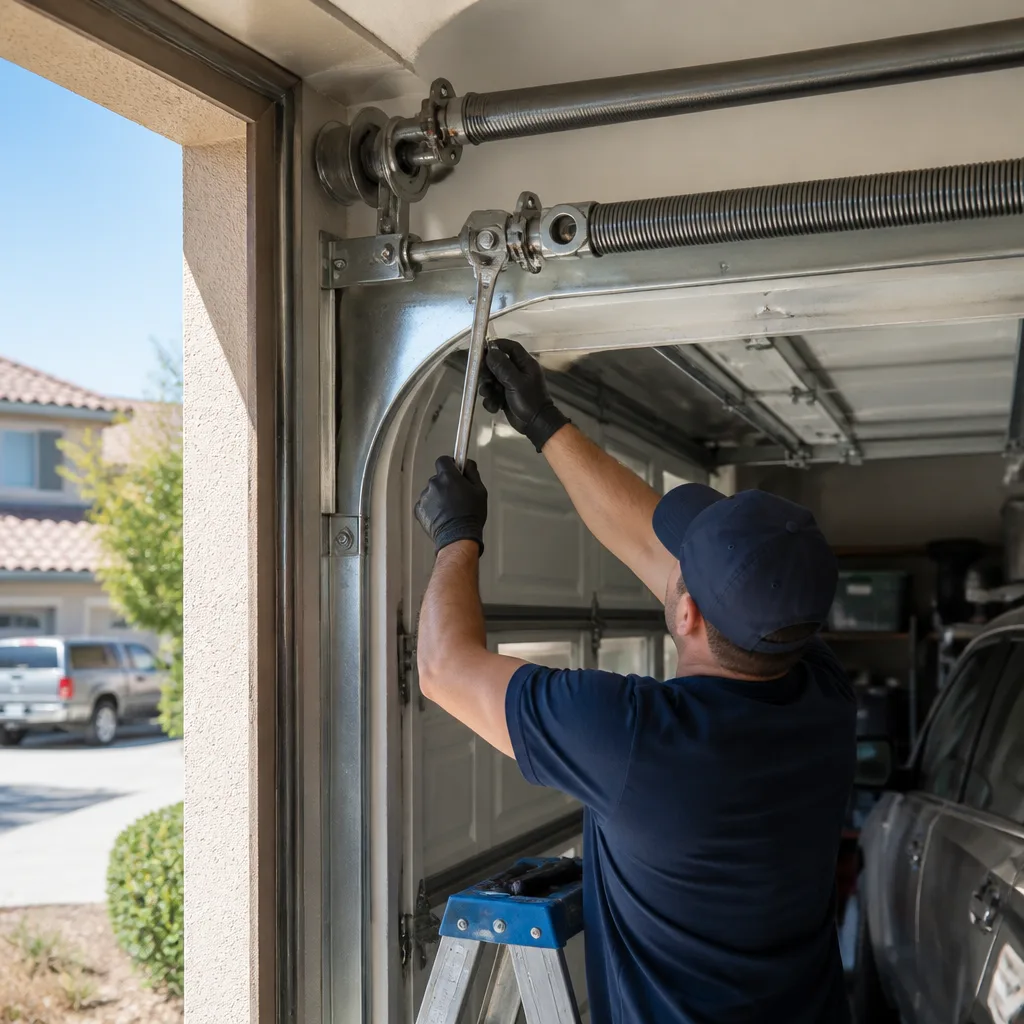
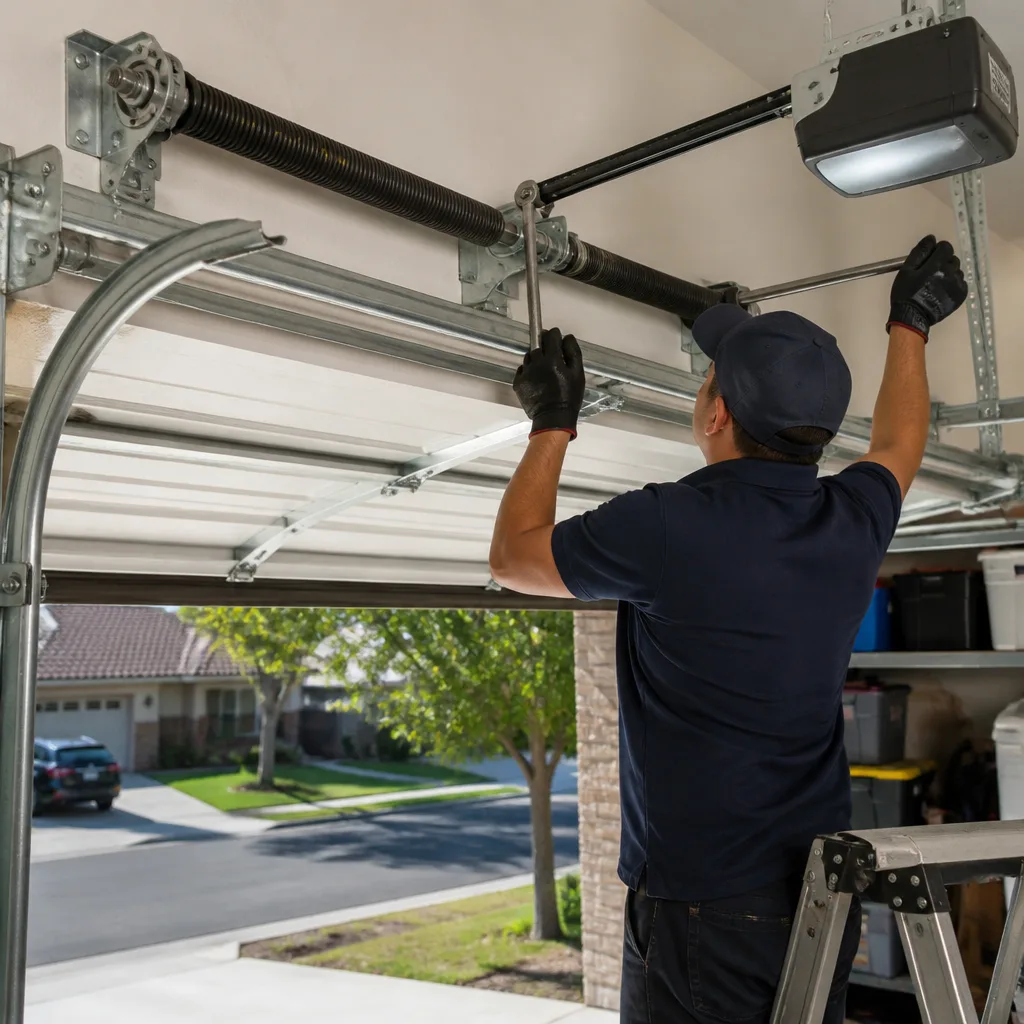
- Torsion springs sit on a metal shaft above the door opening. They are wound under high tension and lift the door by releasing that stored torque. A typical residential torsion spring holds between 90 and 120 foot-pounds of torque when wound. The winding and unwinding sequence requires two steel bars and a specific number of quarter-turns, calculated by spring wire diameter and door height. A wrong move can throw the bar at high velocity.
- Extension springs run along the horizontal tracks on both sides of the door. They stretch under load and look deceptively simple. When one breaks, the other often follows within weeks, and the stored stretch energy in the intact spring is enough to cause serious hand or face injury.
- Lift cables connect the bottom corners of the door to the spring system. They carry the door’s full weight every cycle. A frayed cable under a 150-pound door is a loaded weapon. If a cable snaps while you are working near the track, the door can drop unevenly and pin whatever is beneath it.
The engineering reason is straightforward: these components fail catastrophically, not gradually. A worn bearing makes noise for months before it seizes. A torsion spring looks exactly the same the day before it breaks as it did the day it was installed. You cannot inspect your way to safety on stored-energy components. That is why the boundary is absolute.
Safe DIY Tasks: What You Can Do in a Corona Afternoon
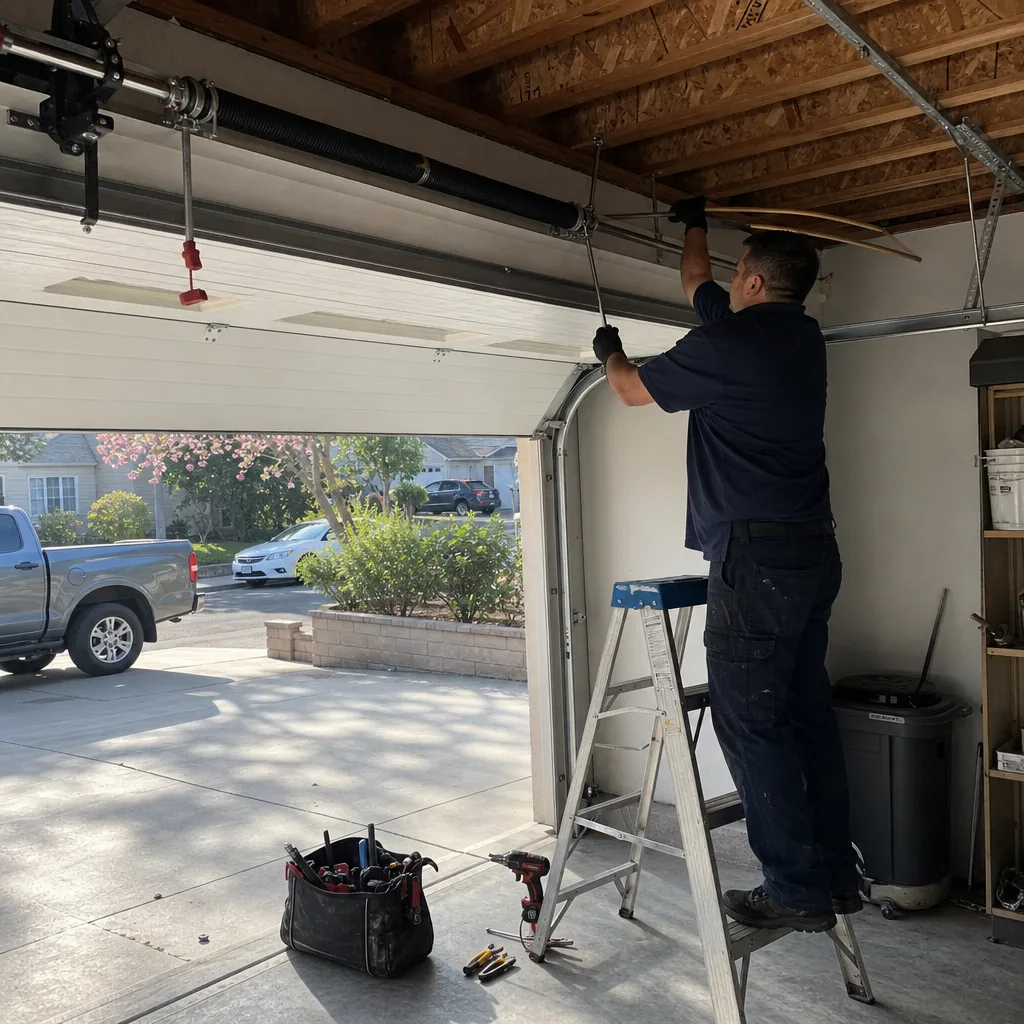
Everything below involves no stored energy. The door is down, the opener is unplugged, and the components you are touching are replaceable by hand with basic tools. These are the tasks a Corona homeowner can do well, provided the right sequence is followed.
1. Weatherstripping Replacement
The rubber or vinyl strip along the bottom of the door is called the astragal. In Corona, it cracks from heat and UV exposure within three to five years. Replacing it takes about 45 minutes.
- Unplug the opener and lock the door in the down position.
- Pull the old strip out of the aluminum retainer track on the door bottom. It slides out from one end.
- Cut the new strip to length, leaving about 2 inches of extra on each side.
- Slide the new strip into the track. Lubricate the channel with soapy water if it binds.
- Trim the excess with a utility knife so the ends sit flush.
The part costs $12 to $30 for a standard 16-foot door sold at any hardware store in Corona. A professional replacement runs $80 to $150, most of which is labor and the trip charge.
2. Remote Opener Reprogramming
If your remote stopped working after a power outage or a neighbor’s remote started opening your door, this is a DIY fix that needs no tools beyond a step stool.
- Locate the Learn button on the opener motor unit, usually a colored square button on the back or side.
- Press and hold it for 6 seconds until the indicator light goes out. This erases all stored remotes and keypads.
- Press the Learn button once. The light will glow.
- Within 30 seconds, press the button on your remote twice. The opener light will flash to confirm.
- Reprogram any other remotes and the keypad the same way.
This works on LiftMaster, Chamberlain, Genie, and Craftsman openers sold in the last 20 years. If the opener is older than that and uses DIP switches, the process is different, but the fix is still DIY-accessible.
3. Limit-Switch Adjustment on Belt or Chain Openers
If the door reverses before it fully closes or does not close all the way, the limit switch settings determine how far the opener travels in each direction. This is an adjustment, not a repair, and the opener manual covers it. Look for two small plastic screws or dials on the opener body, typically labeled “Up” and “Down.” Small quarter-turn adjustments, testing after each change, is the entire sequence. Do not adjust the force settings, which control how hard the opener pushes. That is a band-aid over a mechanical problem.
4. Panel Touch-Up Paint
Steel garage doors rust when paint chips. Corona’s dry climate slows rust compared to coastal communities, but sprinkler overspray and sun fade still take a toll. Touch-up kits from Clopay and Amarr run $25 to $45 and include the exact factory color. Sand the chipped area lightly with 220-grit paper, wipe with denatured alcohol, and brush on two thin coats. The goal is corrosion prevention, not a mirror finish.
Parts and Tool Sourcing: What You Can Actually Buy
Garage door parts are not sold like plumbing fittings. The retail market is intentionally thin, and knowing what is sold where saves you a wasted trip across Corona.
Readily Available at Retail
- Weatherstripping and astragal strips: sold at any hardware store, usually in 9-foot or 16-foot lengths. Verify the door width before buying.
- Remotes and keypads: universal remotes from Chamberlain and Genie are stocked at big-box stores. Match the frequency and Security+ or Intellicode protocol to your opener.
- Lubricant: use a silicone or lithium-based garage door lubricant, not WD-40, which is a solvent that strips the existing lubricant. A $10 can lasts two years.
- Roller replacements: individual nylon rollers are sold at home centers. They are DIY-replaceable if you unbolt the bottom bracket and slide the roller out of the track. Do not attempt this on any roller connected to a cable.
Not Available at Retail, and That Is the Point
- Torsion springs: sold at trade counters, not to walk-in homeowners. The spring must be matched to the door weight, spring wire diameter, inside diameter, and length. The winding requires two proper-size steel bars and an understanding of the turn count. You cannot buy the correct spring at a retail store in Corona, and that is the market protecting you.
- Lift cables: available online, but a cable replacement requires de-tensioning the spring system first. If you do not have the tools and sequence, the cable purchase is a liability, not a shortcut.
- Logic boards: sold online for opener repairs, but installation requires matching the exact model revision, which is printed on the board, not the opener. The wrong board can damage the motor.
How to Document a DIY Repair the Way a Technician Would
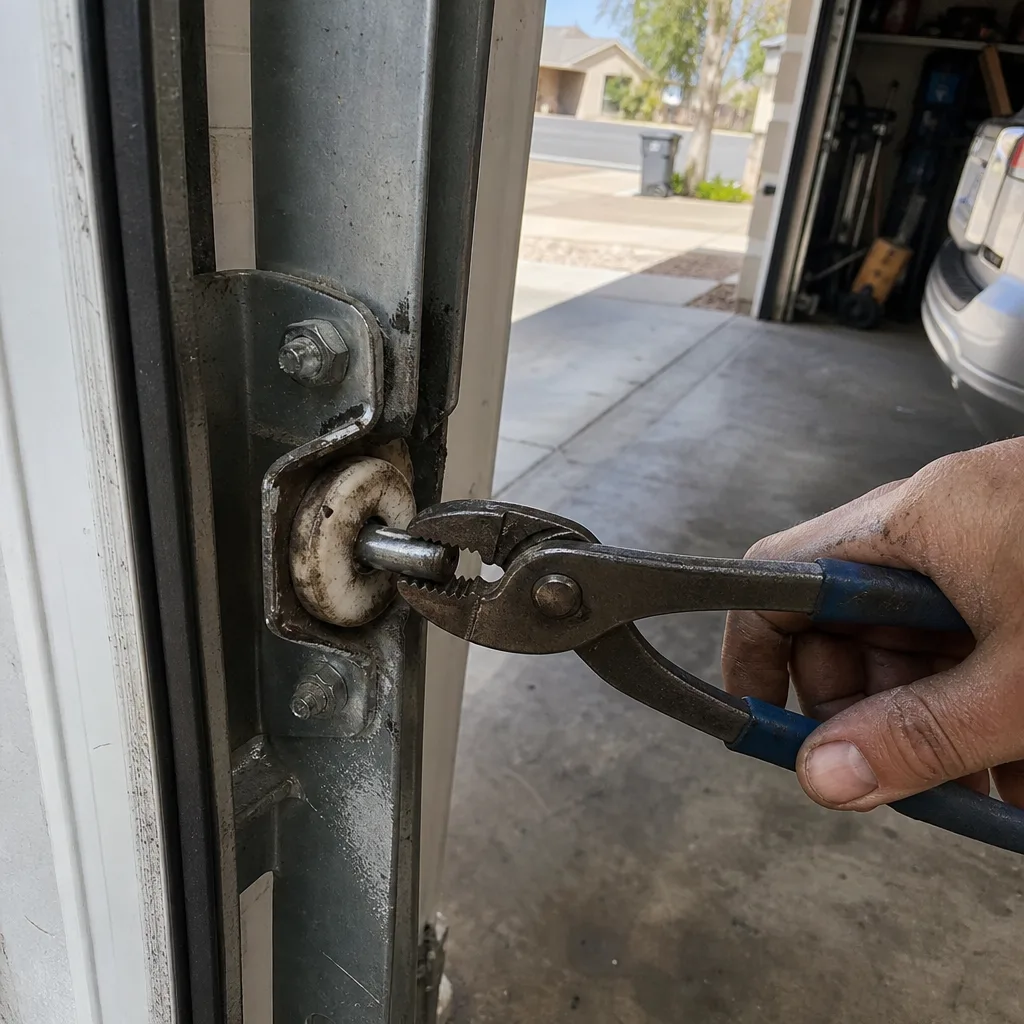
The difference between a repair you can build on and one that becomes a puzzle for the next technician is the record you keep. We have been called to homes in Corona where the homeowner did their own work and then could not tell us what the original part number was. That makes a 30-minute diagnosis into a two-hour job.
At Servo Garage Doors Corona, every visit we make includes a documented photo record of what we found and what we did. The founding rule is that the customer sees the failed part before anyone quotes a replacement. Clause 4 of The Haven Standard makes that non-optional. You can apply the same logic to your own work.
- Photograph the component before you remove it. Hold the new part next to the old one in the photo so the specs are visible. In our shop, this is the before-quote step, not an afterthought.
- Note the part number. Write it on the packaging or photograph the label. Remotes, rollers, seals, and opener accessories all have model numbers that matter later.
- Photograph the finished repair. One wide shot, one close-up. Include the door in the closed position.
- Write the date and the job on a piece of painter’s tape and stick it inside the door frame. Ten-year-old tape with a part number on it saves more time than any memory.
If the DIY repair later turns out to be a symptom of something larger, this record lets the next technician skip the discovery work. And if you call us for a Garage Door Repair in Corona, the photo record means our written quote is based on what is actually there, not what we assume.
The Handoff Protocol: When to Stop and Call
Every DIY job has a point where persistence stops being useful and starts being dangerous. For garage doors, the handoff protocol is specific and observable. When any of these symptoms appears, you stop, leave the door in the closed position, unplug the opener, and call a technician.
- You hear a loud bang from the spring area while opening or closing the door. That is a torsion spring breaking. The door will feel suddenly heavy, and if you force it up, the opener motor is doing the entire lift, which burns it out fast.
- You see a visible cable gap between the strands. A frayed cable fails by unwinding strand by strand. By the time you can see daylight through it, it is a matter of cycles, not months.
- The door hangs crooked when opening. That means one cable has slipped, one spring has failed, or a track is bent. All three require releasing stored energy to correct.
- The door bounces or shudders mid-travel. This can be a broken roller or a bent track, but it can also be a tension imbalance between the two springs, which is a stored-energy adjustment.
- You have been adjusting the limit switch for 20 minutes and nothing improves. The limit switch is compensating for a mechanical issue, which means you are dialing the opener toward a problem it was never designed to handle.
The stop-and-call protocol exists because these symptoms are signposts, not side quests. A torsion spring that has just broken still has the potential energy of the unbroken coil wound inside it. The door should be down, the opener unplugged, and the repair left to someone who does this specific job daily.
We tell Corona homeowners this directly: if the symptom involves the spring bar, the cables, or a door that will not stay put, the DIY phase is over. Call (951) 482-7637. You will get a writer’s price, not a callback window.
Cost Comparison: What Corona Homeowners Actually Pay
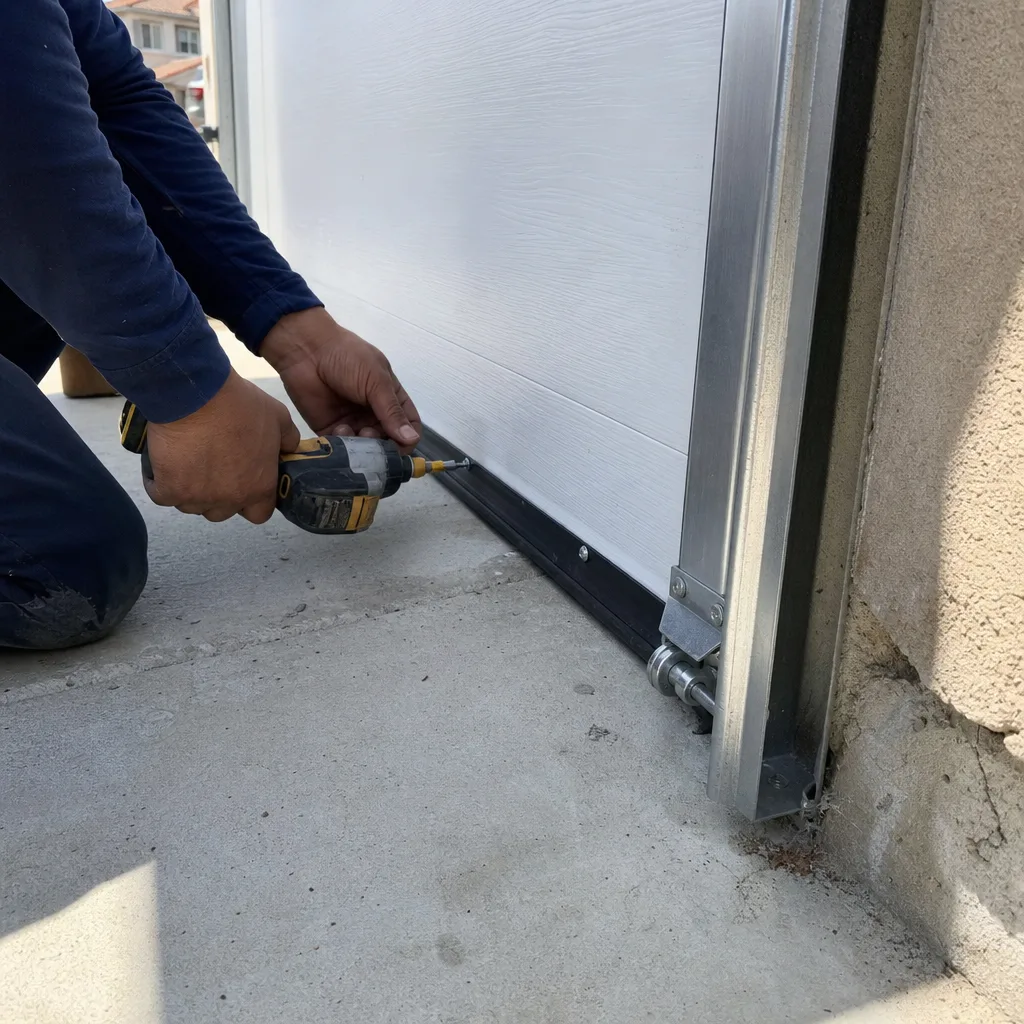
DIY saves money on parts but costs you in tool purchases, incorrect parts, and the time to do the job wrong before you do it right. Here is what the math looks like in Corona in 2025, based on the jobs we quote and the receipts we see.
DIY vs Professional: Typical Range for Common Tasks
| Task | DIY Cost | Professional Cost | Worth DIY? |
|---|---|---|---|
| Weatherstripping replacement | $15-$35 | $80-$150 | Yes, if you have 45 minutes |
| Remote reprogramming | $0 (existing remote) | $60-$90 (service call) | Yes, no tools required |
| Lubrication and roller inspection | $10-$20 | $70-$120 | Yes, annual maintenance |
| Panel touch-up paint | $25-$45 | $150-$300 (if full panel repaint) | Yes for spots, no for full panels |
| Torsion spring replacement | $40-$70 (parts only, if you could buy them) + winding bar risk | $180-$340 installed | No. Categorically. |
| Cable replacement | $25 (cable only, if you could buy the correct one) | $150-$250 installed | No. Requires spring de-tensioning. |
Two notes on this table. First, the professional prices are the ranges we quote in Corona, written, flat, and agreed before any work begins. Clause 1 of The Haven Standard means you know the number before the technician touches anything. Second, the DIY spring cost is theoretical. You cannot buy a retail torsion spring in Corona, and if you could, the winding procedure without proper tools and training would make the $40 part the most expensive savings on this list.
The honest arithmetic: on safe DIY tasks, doing it yourself saves between $50 and $120 per job. On stored-energy components, the professional fee is not a luxury. It is the cost of not going to urgent care with a hand injury, and that is not a fair trade at any price.
Common Mistakes to Avoid
- Tightening the force setting to fix a reversing door. The force setting controls how hard the opener pushes. Crank it up, and the door will crush a bicycle or a pet that gets in the way. If the door reverses because the springs are weak, the fix is new springs, not more motor aggression.
- Using WD-40 on the tracks or springs. WD-40 is a solvent. It strips the lubricant and leaves the steel dry. Use a silicone-based garage door lubricant. A can costs less than $15 and lasts two years.
- Buying a replacement spring online without a spring spec. The spring must match wire diameter, inside diameter, length, and door weight. Guessing produces a door that slams or refuses to open fully. In our experience in Corona, this is the most common DIY failure we see.
- Removing a roller from a bottom bracket while the cable is still attached. The bottom bracket holds the lift cable. Unbolt it, and the cable snaps free under door weight. The correct sequence for any roller work starts with identifying whether the roller is cable-connected or not.
- Replacing a remote without checking the protocol. Security+ openers from different years use different rolling-code protocols. A Chamberlain remote from 2018 will not pair with a 2012 opener. Match the frequency and the protocol before you buy.
- Treating a noisy door as a lubrication problem. Noise is usually a symptom, not a cause. A grinding sound from the motor unit, a popping sound from the spring area, or a screech from the track all point to specific worn components, and lubricating over them delays the repair, sometimes until the part fails entirely.
When to Call a Professional
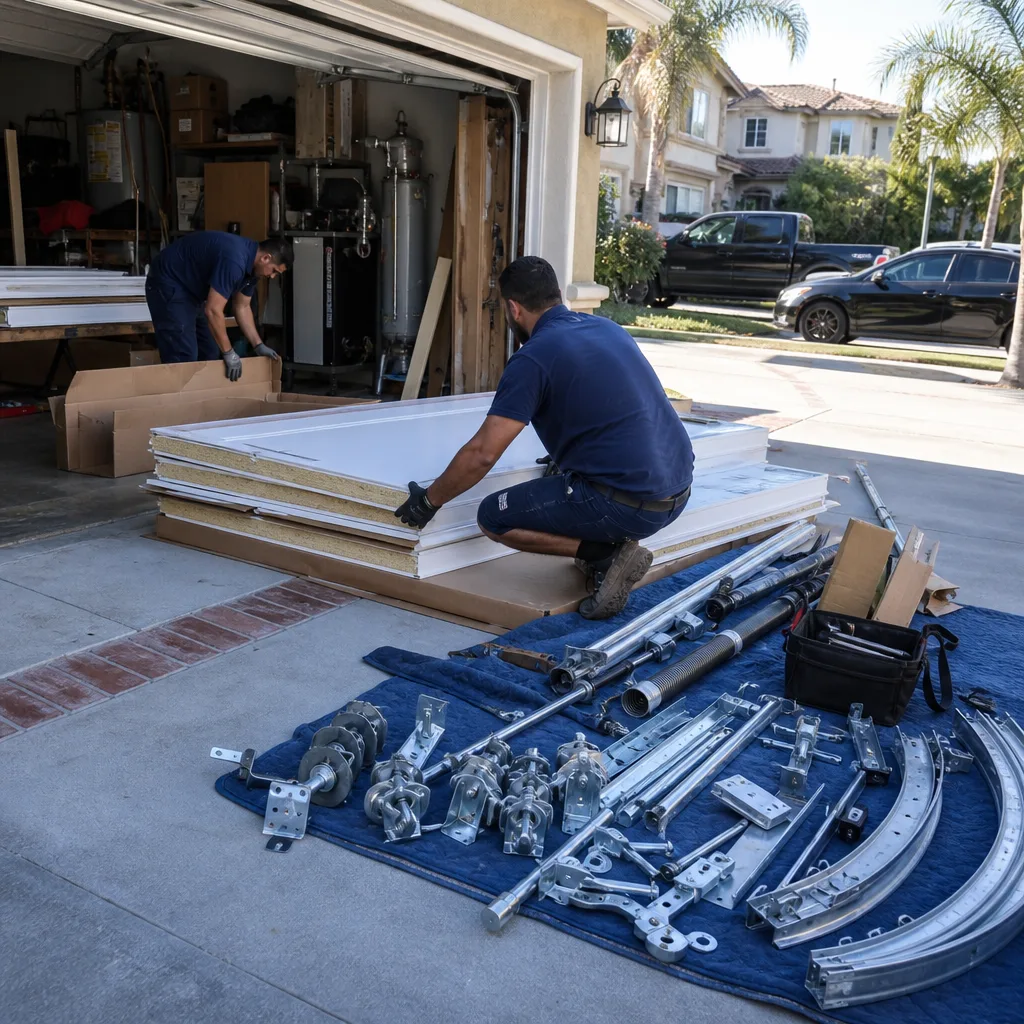
Call a professional when the task involves any of these: a broken or visible torsion spring, a frayed or slipped lift cable, a door that will not stay in place, a bent track, or a motor unit that runs but will not move the door. Also call if the door has been making a loud bang, a grinding noise, or a sound like rocks in a coffee can for more than a few days. If you’re unsure whether your project needs permits, review Garage Door Permits, Codes & Inspections in CA: What You Need to Know. Those are mechanical failures, not quirks.
If you are in Corona and the symptom is on this list, Servo Garage Doors Corona home handles it with a flat, written price before any work starts. We photograph the failed component as part of the walk-through, so you see what we see. Free estimates in Corona: call (951) 482-7637.
For broader work, see Garage Door Installation in Corona or Garage Door Opener Repair & Installation in Corona, both of which follow the same written-price standard.
Frequently Asked Questions
No, it is not safe to replace a torsion or extension spring yourself, in Corona or anywhere else. Torsion springs hold 90 to 120 foot-pounds of stored torque, and the winding procedure requires specialty bars and a precise turn count. If the bar slips, the energy release is immediate and can cause serious injury. This is the line in the guide: stored energy means professional service, period. Call (951) 482-7637 for a written quote and free estimate in Corona.
A Corona homeowner can safely do weatherstripping replacement, remote reprogramming, lubrication, roller inspection, limit-switch adjustment on belt or chain openers, and panel touch-up paint. All of these tasks involve components with no stored energy. The procedures are covered in this guide, and none require specialty tools beyond a ladder, a screwdriver, and a utility knife.
Torsion spring replacement in Corona typically costs $180 to $340 installed, depending on spring size, door weight, and whether one or both springs need replacement. DIY is not a realistic option because the correct springs are sold only through trade channels, and the winding procedure is dangerous. Call (951) 482-7637 for a flat, written quote with no hidden charges. The price is agreed before any work begins.
A garage door can drop suddenly if the lift cable snaps, and a broken spring removes the counterbalance that makes the door feel light, so the door effectively weighs 150 to 250 pounds when you try to lift it manually. The door rarely falls on its own because the track binds it, but forcing the door open by hand after a spring break can cause the cable to unwind and the door to drop unevenly. If you hear a loud bang from the spring area, leave the door closed, unplug the opener, and call us.
If the remote works but the door behaves erratically, start with remote reprogramming and limit-switch adjustment, both safe DIY steps. If the motor runs but the door will not move, the trolley carriage may be disengaged from the rail, which is a simple reconnection. But if the motor hums without turning, or the door reverses halfway with no visible obstruction, the issue is usually a failing logic board or a broken spring, and both require a professional. Call (951) 482-7637 for a diagnosis and a written quote.
No, estimates from Servo Garage Doors Corona are free. The estimate is a flat, written price with a written scope of work, delivered before any work starts. Clause 1 of The Haven Standard says the price is on paper before the tool is in hand. Call (951) 482-7637 and you will speak to a live person, get a named technician, and receive a written price.
The Bottom Line
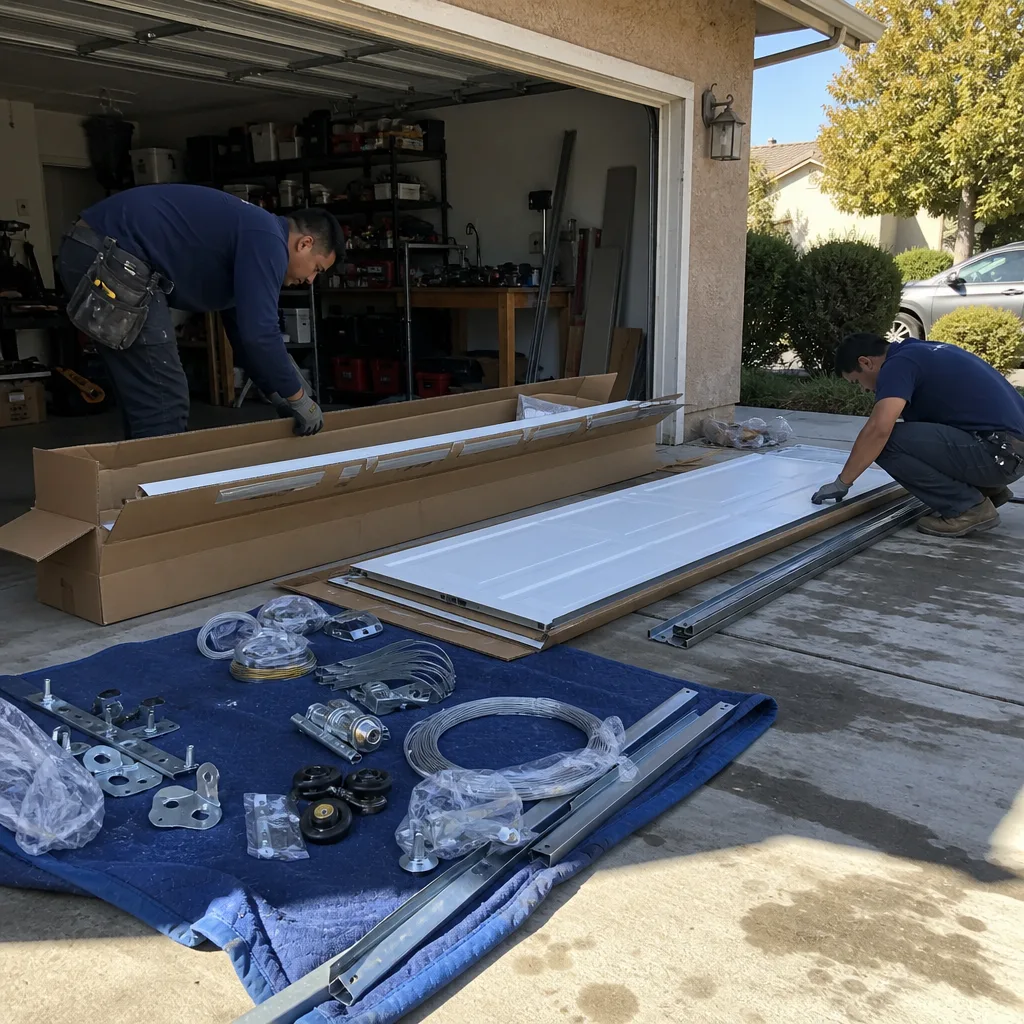
The DIY-versus-professional decision for your garage door is made by the component, not by your confidence. Weatherstripping, remotes, limit adjustments, and panel paint are fair game. Torsion springs, extension springs, and lift cables are not, because they store mechanical energy that releases without warning. Do the safe tasks, document them properly, and stop the moment you see a symptom from the handoff list. Explore our more guides & resources for additional homeowner support. In Corona, the heat accelerates spring and seal wear, so the handoff list matters. When it is time to call, we give you a written price before any work starts, a photo record when the job is done, and a 365-day promise that if it is not right, we make it right.
Written by Marcus Deller, Owner at Servo Garage Doors Corona, serving Corona since 2015.